 Potatoes are a versatile and beloved staple in many households, making them a popular choice for home gardening. While traditional potato farming requires a plot of land, you can also grow potatoes in containers, making it accessible to urban and small-space gardeners.
Container gardening not only saves space but also provides better control over soil conditions and reduces the risk of pests and diseases. In this step-by-step guide, we’ll walk you through the process of growing potatoes in containers at home.
ADVERTISEMENT
Materials You’ll Need:
Container: Choose a large, sturdy container with a minimum depth of 12 inches. Options include plastic pots, wooden boxes, or even fabric grow bags. Ensure it has drainage holes at the bottom.
Potato Seed: Purchase certified seed potatoes from a garden center. These are disease-free and specially grown for planting.
Potting Mix: Use a high-quality potting mix or make your own by mixing equal parts of compost, peat moss, and perlite or vermiculite.
Fertilizer: Get a balanced, slow-release fertilizer suitable for container gardening.
Watering Can or Hose: You’ll need a reliable water source for regular irrigation.
Sunlight: Choose a sunny location for your container, as potatoes require at least 6-8 hours of sunlight daily.
Steps to Growing Potatoes in Containers:
Prepare Your Container:
Ensure the container has drainage holes. Place it in the chosen sunny location.
Chit the Potatoes:
A few weeks before planting, place the seed potatoes in a cool, well-lit area to encourage sprouting. This process is called “chitting” and helps potatoes grow faster.
Add Potting Mix:
Fill the container with 4-6 inches of potting mix. Water the mix until it’s evenly moist but not soggy.
Plant the Seed Potatoes:
Space the seed potatoes evenly across the container, with about 4-6 inches of space between each seed. Push them into the soil with the chitted (sprouted) side facing upwards.
Cover with Soil:
Add another 4-6 inches of potting mix over the seed potatoes. Water thoroughly to settle the soil.
Fertilize:
Apply a balanced, slow-release fertilizer according to the package instructions. Repeat this every 4-6 weeks throughout the growing season.
Watering:
Keep the soil consistently moist but not waterlogged. Water deeply whenever the top inch of soil feels dry.
Hilling:
As the potato plants grow, keep adding more potting mix around the stems to encourage tuber development. This process is called “hilling.”
Leave a few inches of the plant exposed and repeat hilling as necessary. Monitor for Pests and Diseases:
Keep an eye out for common potato pests like aphids, potato beetles, and diseases such as late blight. Treat any issues promptly with organic remedies or insecticidal soap.
Harvest:
Potatoes are ready to harvest when the plants start to flower and the foliage begins to yellow and die back.Carefully dig around the base of the plant to unearth the potatoes.
|
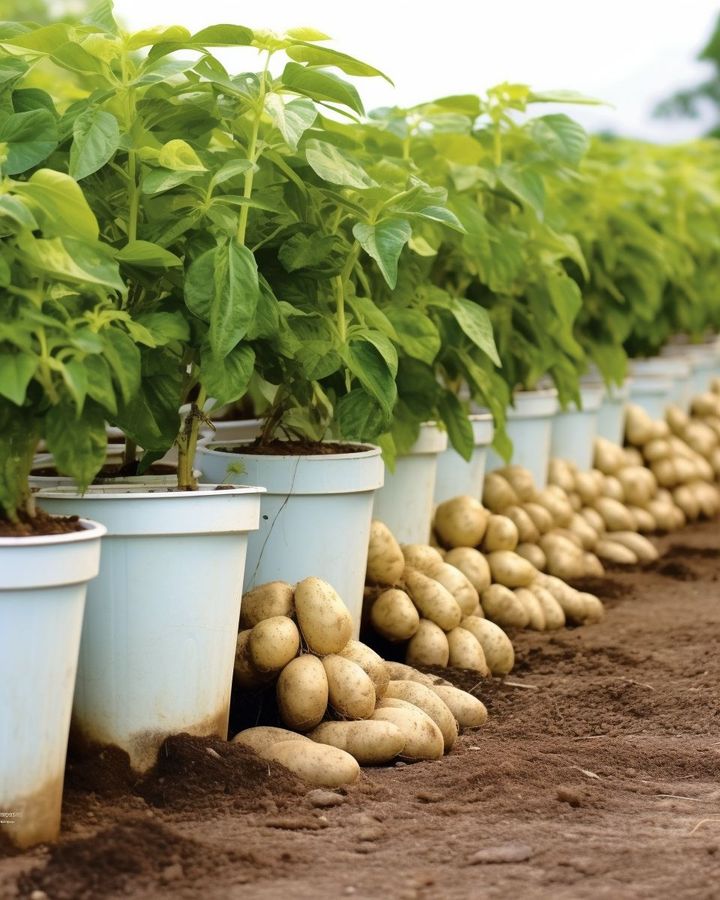
Growing potatoes at home is easy! So many tubers. Check out this step-by-step guide